Do not use these phone cases, they may cause cancer!
The importance of mobile phones to us is self-evident, especially for friends who feel uncomfortable without taking a mobile phone and feel a piece missing in their hearts.
Since we love mobile phones so much, we naturally need to take good care of them. It is the most common way to put a mobile phone case on a mobile phone. For young and unconventional young people, a beautiful and unique mobile phone case is a manifestation of personality.
More nonsense, two superb DIY phone cases will make your phone instantly look good and full of personality.
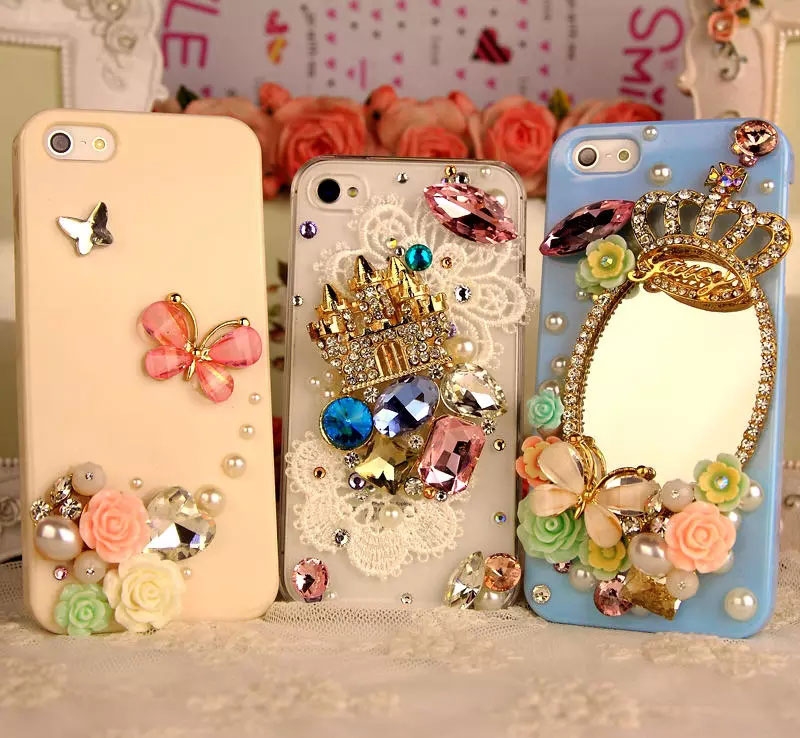
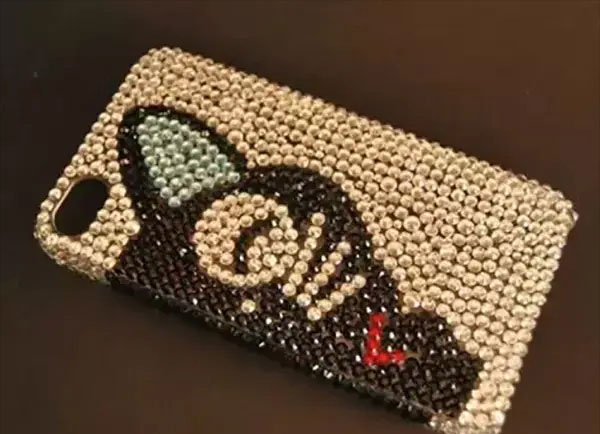
1. Handmade: mobile phone case with diamond
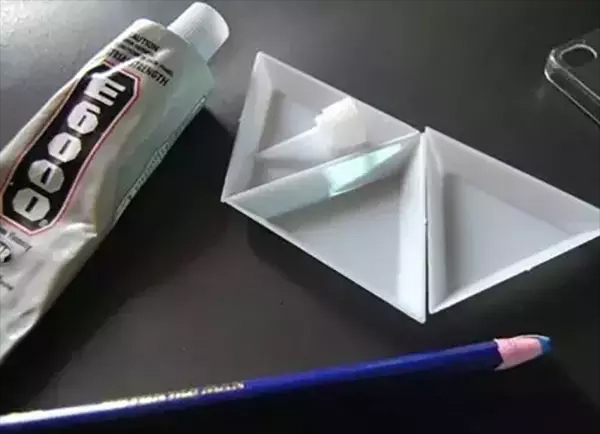
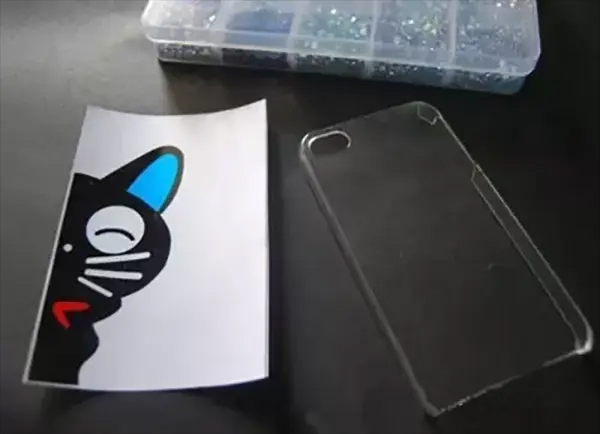
Materials / tools: mobile phone case, rhinestones, E6000 glue (AB glue also works), film drawings, scissors, point pen, tweezers, triangle plate.
1. Cut out the drawing of the film according to the size of the phone case (it is important to choose the pattern you like), and then put it into the phone case. If it is not fixed, use transparent adhesive.
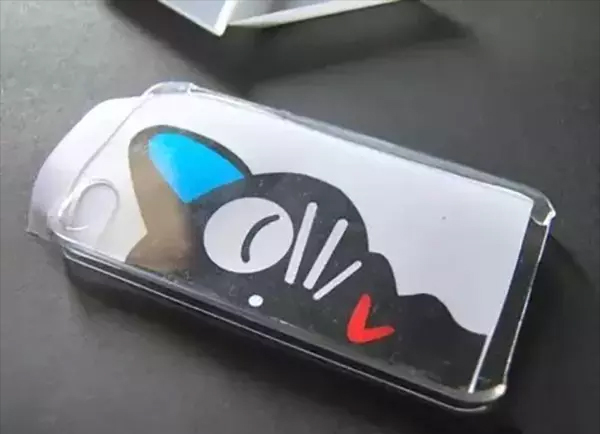
2. Paste the outline with a drill first, then the drawing can be removed.

3. Continue sticking the drill until it is full. Look, the exquisite DIY diamond-encrusted mobile phone case has been completed, and it is bright!
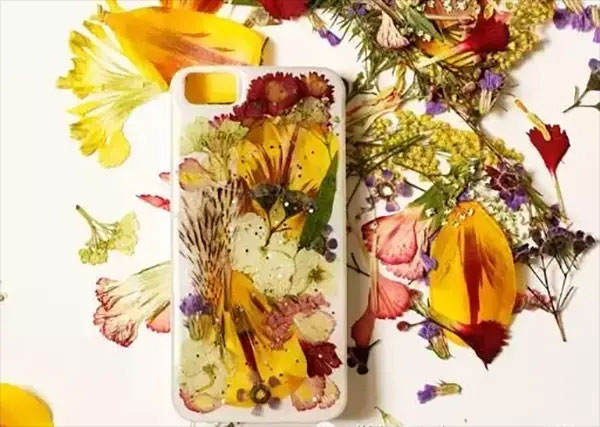
Manual Teaching: Dried Flower Phone Case
Materials required:

Flattened dried flowers; flat, strong white phone case; craft glue; tape; scissors; parchment (other papers are also possible); ruler; fine-tipped marker pen; timer; two clean plastic cups; two Wooden sticks; 50/50 cast epoxy resin (resin and curing agent); acetone (or nail makeup remover containing acetone); cotton swabs; glitter powder (optional).
Production Method:

Put the embossing on the phone case and put it in your favorite look. Note that it is best to place light-colored flowers under the color of dark flowers, and the thickness of the embossing should not exceed 1.5mm, otherwise the resin may not cover the phone case. You can use your phone to take a picture of your pattern for reference.

Remove the embossing from the phone case and set it aside for use. Lightly apply a small amount of glue to the largest flower and lightly adhere to the phone case. Continue sticking other embossings until the desired layout is completed.
The next step is to use resin to shape, you need to finish in a well-ventilated production environment.
First, cut a piece of parchment paper about 60 cm long with scissors, and stick it to a flat work surface with tape. Pick up your resin and carefully read the instructions (Note: If the instructions for the resin you purchased do not match the following steps, be sure to follow the steps on the instructions, otherwise you will get a mess.
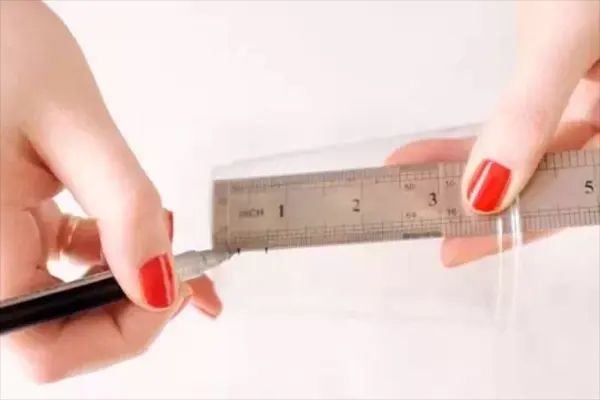
Place a ruler in a plastic cup and make two marks on the cup with a fine-pointed marker. The first mark is marked at 3/8 inches (about 9.5mm), and the second mark is marked at 3/4 inches (about 19mm).
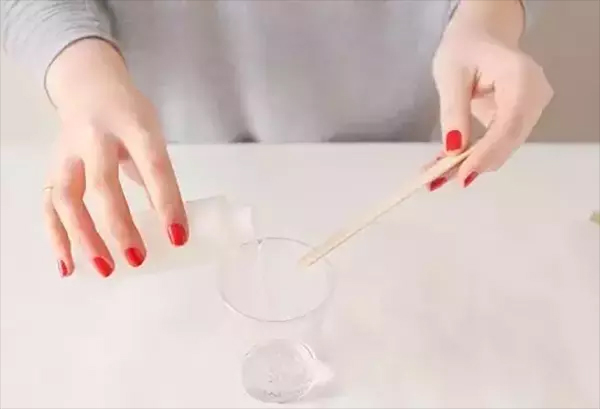
Set the timer to 2 minutes and prepare a stick for stirring. Slowly pour the resin into the plastic cup until the first mark (3/8 inch). Keep in mind that the exact amount is very important, so don’t be overly generous when it comes down. Next, slowly pour the curing agent up to the second mark (3/4 inch). Be sure not to pour too much.
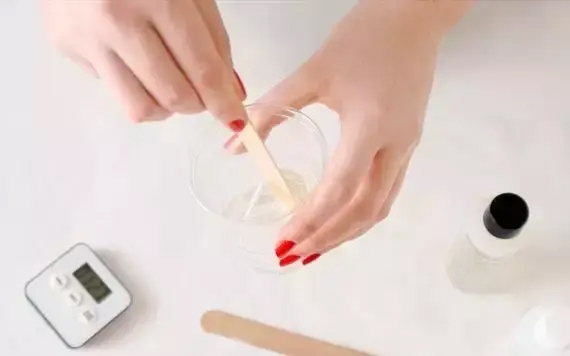
Start the timer and stir with a wooden stick for 2 minutes, making sure that the wooden stick rubs against the wall of the cup from time to time. When you see a lot of bubbles in the cup, don’t worry, they will disappear later. When the time is up, place a second plastic cup on the work surface and prepare a second useless stick for stirring.
Optional: If you want to add a little glitter to the phone case, you can sprinkle some into the mixture now.
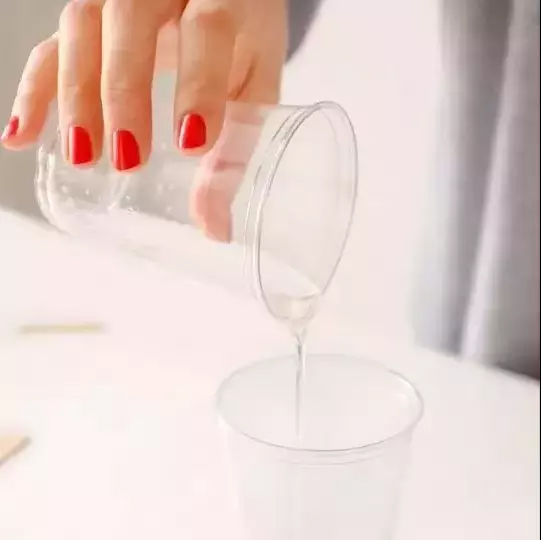
Next, set the counter to 1 minute and pour the mixture from the first cup into the second cup. Continue stirring until the timer stops and let stand for 5 minutes.

Slowly pour a small amount of the newly mixed resin into the middle of the phone case. It is better to add less resin because you are too careful.
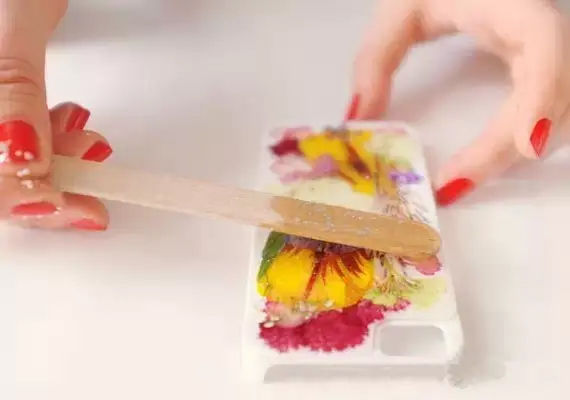
Then use a wooden stick to extend the resin to the edge of the phone case to ensure that the resin does not exceed the edge of the case. Pour more resin on the phone case until the back of the case and all embossments are covered. Gently blow bubbles floating on the surface to make them disappear.
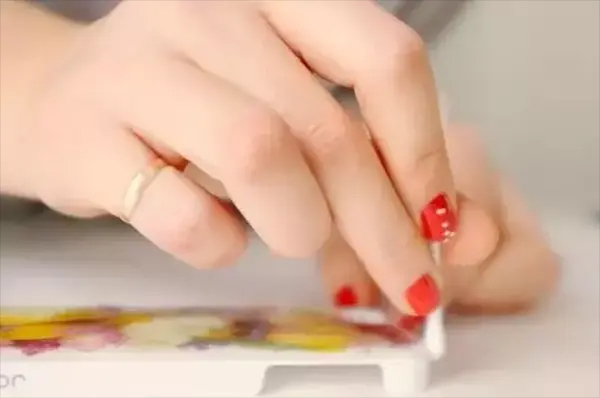
Keep the phone case on the parchment paper. Pay attention to it during the drying process (about one to two hours). If any resin spills out of the edge of the phone case, wipe it with acetone with a cotton swab.
Once the first coat of resin has dried, check your phone case to make sure all the embossments are properly covered. If necessary, a second coat of resin can be added.
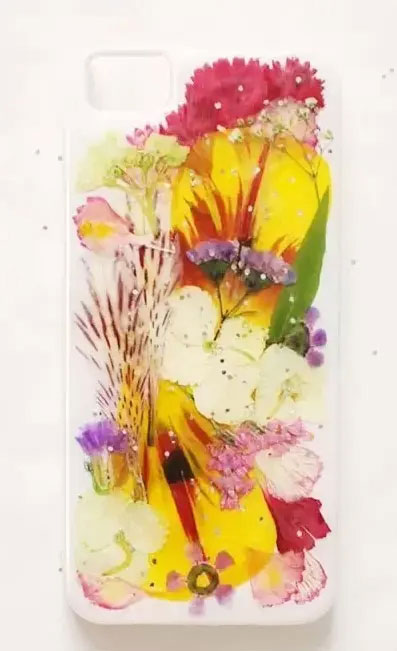
In this way, a beautiful dried flower phone case is ready. Is it beautiful and different? Haha, just wait for being captive!
If you like, you can collect it ~